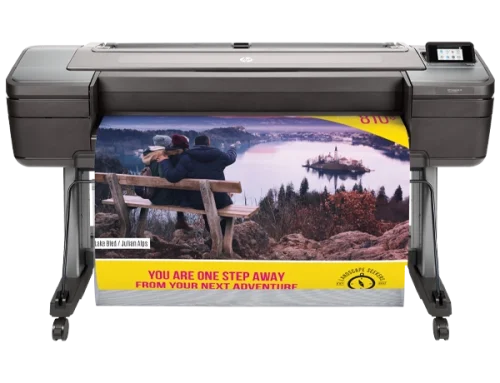
How to Properly Set Up Your Artwork for Large-Scale Printing is crucial for ensuring your final print looks sharp, accurate, and true to your original design. At PosterPrinters.co, we understand that a smooth printing process begins long before you hit “print.” Below, we’ll walk you through the key steps—covering DPI vs. PPI, file formats, bleed and trim marks, and color modes—to help you avoid common pitfalls and make the most of your large-scale projects.
DPI vs. PPI
One of the most important factors in How to Properly Set Up Your Artwork for Large-Scale Printing is understanding the difference between DPI (dots per inch) and PPI (pixels per inch).
- DPI typically refers to the resolution output of the printer itself—how many dots of ink the printer lays down on each inch of paper.
- PPI refers to the pixel density of your digital image.
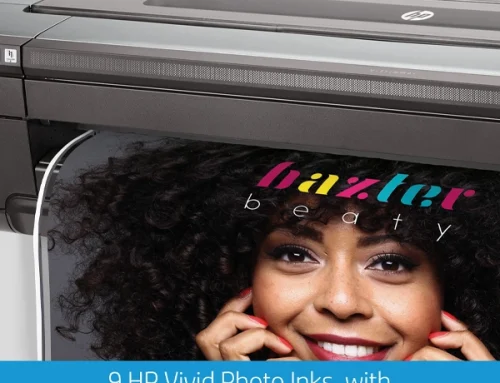
When preparing your artwork, ensure your digital files are at least 150–300 PPI at the final print size. If the resolution is too low, you risk ending up with pixelated or blurry images.
Learn more about DPI and PPI from Printivity
Choosing the Right File Format
Another major aspect of How to Properly Set Up Your Artwork for Large-Scale Printing involves selecting the right file format. While every project is unique, the following formats are widely used for high-quality prints:
- PDF: Ideal for preserving text, vectors, and images in a manageable file size.
- TIFF: Great for high-resolution raster images—especially photographs—thanks to its lossless compression.
- EPS: Best for vector graphics and logos, ensuring crisp lines at any scale.
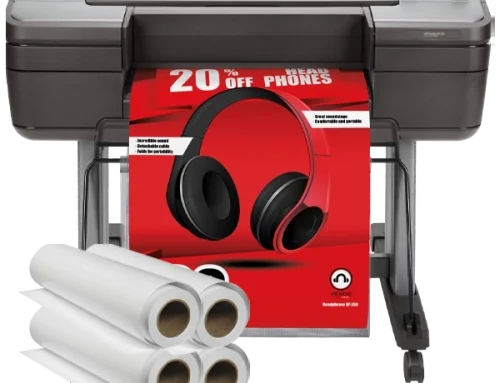
At PosterPrinters.co , you’ll find large format printers that are compatible with these common file types, giving you flexibility in your designs.
Bleed and Trim Marks
Whether you’re printing posters, banners, or large marketing displays, incorporating bleed and trim marks is essential to avoid unexpected white edges and ensure proper cutting:
- Bleed: Extend your design background beyond the final trim area (usually by 0.125–0.25 inches on each side). This allows for slight shifts in cutting.
- Trim Marks: These indicate where the final cut will be made. Keep important design elements (text, logos) within a “safe area,” typically a bit smaller than the final cut size.
Proper setup of bleeds and trim marks prevents reprints caused by cutting errors and helps maintain a professional look.
Color Modes: CMYK vs. RGB
A frequent challenge in How to Properly Set Up Your Artwork for Large-Scale Printing is getting colors to look right on the final print. Generally, printers use CMYK (cyan, magenta, yellow, black) inks, while screens display RGB (red, green, blue) light.
- CMYK: Best for physical printing. Converting to CMYK before sending your file helps ensure color accuracy.
- RGB: Ideal for on-screen viewing, but less predictable for print.
For an in-depth explanation, check out Adobe’s guide to color modes.
Why Proper Setup Matters
Following these guidelines on How to Properly Set Up Your Artwork for Large-Scale Printing can significantly reduce errors, saving you both time and money. High-quality files with the correct resolution, format, bleed, trim, and color mode translate to more accurate prints—meaning you won’t have to deal with costly reprints or missed deadlines.
Ready to Print?
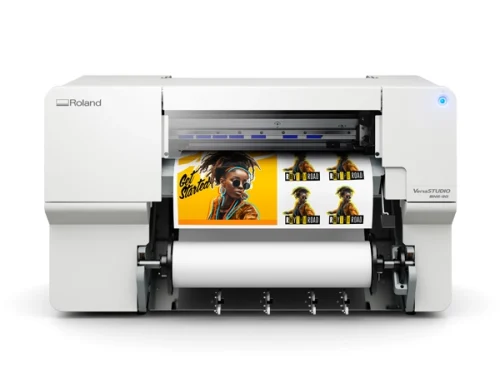
If you’re looking to invest in the right equipment for seamless large-scale printing, visit PosterPrinters.co to explore our range of large format printers. Proper setup combined with the right printer is the key to professional, eye-catching results every time.
Remember: How to Properly Set Up Your Artwork for Large-Scale Printing isn’t just a process—it’s the foundation of a successful final product. Happy printing!